Thursday, September 07, 2006
A new shooting board
I had a shooting board but was not satisfied with it. I had designed it for western planes, for which the front sole (part of the sole before the cuting edge) is shorter than for Japanese planes. So I decided to make a new one, longer, thicker, hopefully better.
This is from where I started. A piece of african teak (not at all of the same familly as the Asian teak), covered with mold and in bad shape on one side.

The shooting board, raw material (african teak)
The first job was to clean the board from the mildew, flatten it, and get rid of the rotten part on the side.
The plane is a 48mm jointer, set a 49degrees. Probably a lower angle would have made the job also, since the wood is not that hard. The plane was set to take thick shavings, and note it doesn't have its subblade. If you do the same (remove the subblade), you might have to also remove the pin, or the shavings won't evacuate correctly and will gather against the pin. Well, that is what happened for me on that wood.
Flattening one side:

After some cleaning, note the pin is removed to avoid gathering of shavings against it.

Rip cutting the damaged part of the board.
Once the board is clean, squared and roughly flat I attempt a perilous exercise: the board being quite thick (5cm), I thought I could cut one side so that the plane will glide at an angle compared to the surface where lays the piece to work. I don't have a sumitsubo so laying out the trace with my longest straight edge being to short was not easy.
Then let's cut. Not easy to cut an an equal depth so that the 2 cuts (one from the top of the board, one from the side, at an angle) will meet perfectly. My first cut (the one from the side) was too deep by 3mm so I relayed out the cut from the top of the board.
The result was accpetable, and that is where I am now (7th sept 06).

Rip cut on the side face, note the angle with the top face of the board.

The result, near the saw is the wedged piece from the cut. Not yet planned.
Remains to place the stop on which the piece to work will sit against, and since this is the left hand side part, I will probably cut the opposit side for right hand work.
Update (13th oct 2006): I have finished my shooting board. The stop piece of wood had been put into place (mortise/tenon join). Carefull marking at a right angle with the side of the board is of course very important. The top of the board has been planed flat. I think I will oil the board, though the wood contains already a significant amount of oil (your fingers get oily when you rub the wood).
Here is a picture of it (26th oct 2006).

This is from where I started. A piece of african teak (not at all of the same familly as the Asian teak), covered with mold and in bad shape on one side.

The shooting board, raw material (african teak)
The first job was to clean the board from the mildew, flatten it, and get rid of the rotten part on the side.
The plane is a 48mm jointer, set a 49degrees. Probably a lower angle would have made the job also, since the wood is not that hard. The plane was set to take thick shavings, and note it doesn't have its subblade. If you do the same (remove the subblade), you might have to also remove the pin, or the shavings won't evacuate correctly and will gather against the pin. Well, that is what happened for me on that wood.
Flattening one side:
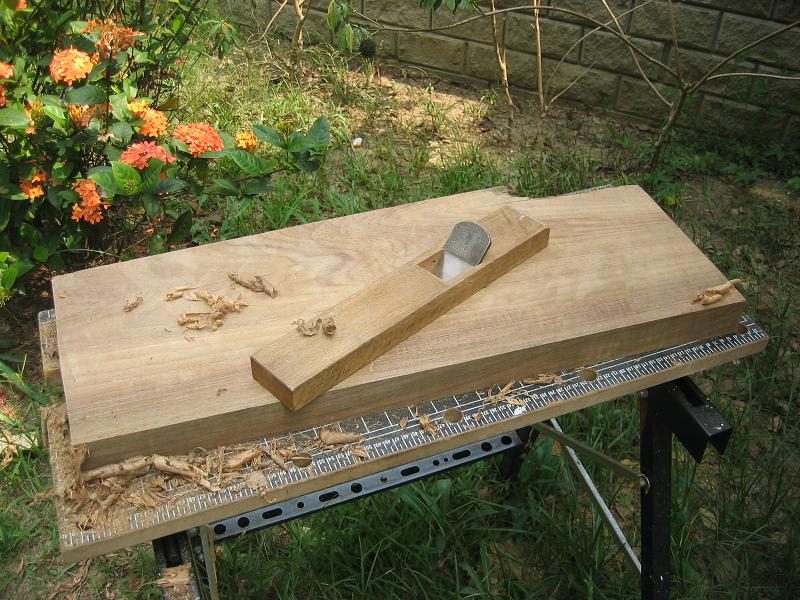
After some cleaning, note the pin is removed to avoid gathering of shavings against it.
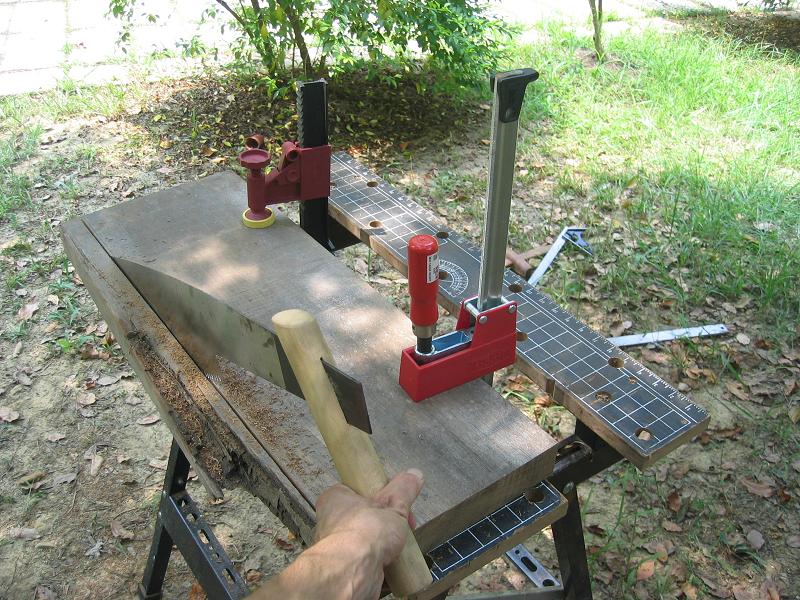
Rip cutting the damaged part of the board.
Once the board is clean, squared and roughly flat I attempt a perilous exercise: the board being quite thick (5cm), I thought I could cut one side so that the plane will glide at an angle compared to the surface where lays the piece to work. I don't have a sumitsubo so laying out the trace with my longest straight edge being to short was not easy.
Then let's cut. Not easy to cut an an equal depth so that the 2 cuts (one from the top of the board, one from the side, at an angle) will meet perfectly. My first cut (the one from the side) was too deep by 3mm so I relayed out the cut from the top of the board.
The result was accpetable, and that is where I am now (7th sept 06).
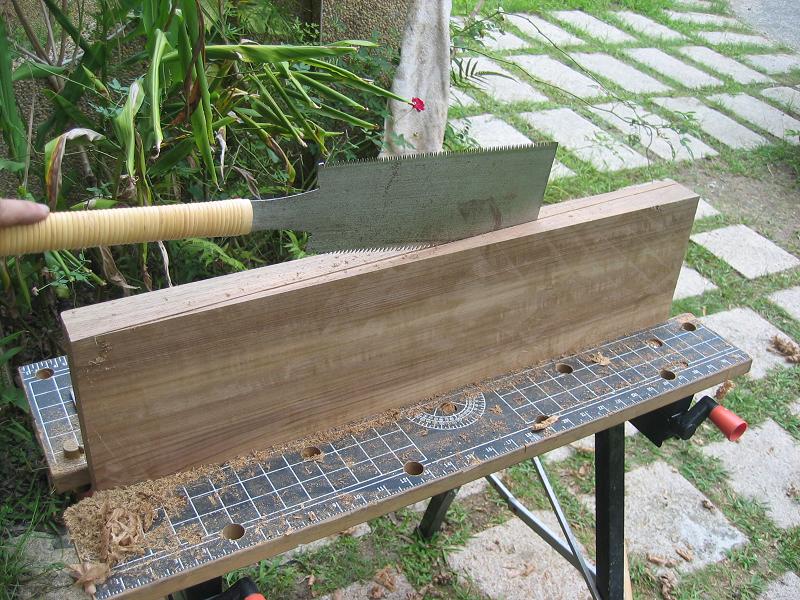
Rip cut on the side face, note the angle with the top face of the board.
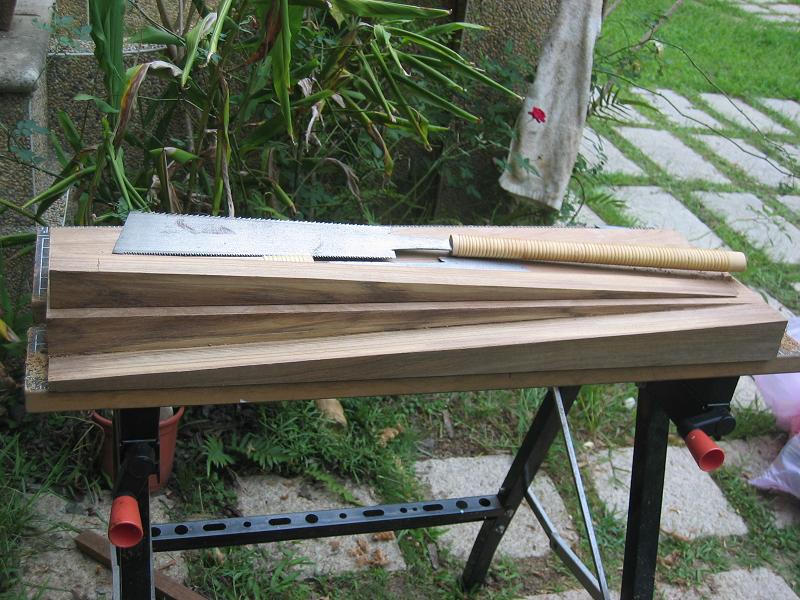
The result, near the saw is the wedged piece from the cut. Not yet planned.
Remains to place the stop on which the piece to work will sit against, and since this is the left hand side part, I will probably cut the opposit side for right hand work.
Update (13th oct 2006): I have finished my shooting board. The stop piece of wood had been put into place (mortise/tenon join). Carefull marking at a right angle with the side of the board is of course very important. The top of the board has been planed flat. I think I will oil the board, though the wood contains already a significant amount of oil (your fingers get oily when you rub the wood).
Here is a picture of it (26th oct 2006).

![]()