Wednesday, February 15, 2006
Sharpening thoughts
- basic maths (when you compute compound angles for example)
- physics and chemistry (relating to metalurgy, grain of sharpening stones, measure of the degree of humidity degree in the wood, wood composition, ...),
- mechanics (if you want to study how the plane blade interacts with the wood, ...),
- biology and ecology,
- history (when studying the origins of tools,...),
- design,
- and of course manual work.
But no matter how much you study wood properties or design, whatever how long you have been practicing planing or sawing or chopping, one thing is primordial: sharp tools.
Planing with a dull blade is like riding a formula one race with worn out tires. I'm not an F1 specialist but I know how important tires are, and they are changed a significant number of times during a race.
I remember one of my relative who was using the side of a cement wall to sharpen his kitchen knife. The cement was smooth after repeating sharpening over many years. But the surface was not flat at all, and still presenting sand grains or other particles. Now compare this cement wall with a 15000grit shapton stone...
Fortunately we have a wide choice when it comes to sharpening media: from natural to man made stones, compound to diamond paste, leather strops, mechanical tools...
The sharpening media goes by pair with the tool. Some time ago I spend hours on a blade, that wouldn't take any edge. I gave up. Then I went to Japan and shown the blade to Mr Sugimura (who has an impressive sharpening corner). After sharpening another blade I had also brought him, he started to work on the one I thought difficult. He spent 3 mn on it and said: "veeerrry difficult sharpen". It was a revelation for me: though I new by readings that some blade are hard to sharpen, I didn't know I had had the experimence myself. I just thought I was doing something wrong.
Sharpening is the art of feeling (the blade contact with the stone, its sharpness), listening (the scratch noise produced on the stone of a given grit) and looking (the blade dullness, because when an edge is sharp, you don't see it). And through experience, you'll know which stone you have to use for which blade (i.e which steel).
Books have been written on the subject, some are excellent. So the purpose of my writings here are just to share my thoughts on the matter, I won't reach the level of specialists.
I hope however to gather enough material from my own experience to provide basic guidelines and show what I do with what I have.
Wednesday, February 08, 2006
Kanna blade setting and dai tuning
NOTE: I am now writing a skeleton about japanese blade and dai setting. Please come back in a while to read more details and look at pictures.
Most of the time the kanna you buy new will come unfinished at a certain degree. You may only need to scrap a little bit the blade bed to have the edge protruding from the mouth, but you may also have a more significant job to do.
I have had various experiences with dais.
- Some were nicely cut, and the dai was a pleasure to tune.
- In another one, the blade was just lose in the dai, even before I did anything.
- Another one had the blade slightly angled (the blade edge wasn't perpendicular with the length of the dai)
- Bed scrapping or adjusting
- Mouth opening, adjusting
- Pin adjusting (together with subblade adjusting)
I shall detail this operation in a near future, with the help of some pictures or sketches.
Once the blade sits correctly, another important task is to tune the plane's sole. Japanese planes have a kind of hilly sole, with only 2 or 3 contact strips with the wood. The pattern depends on the type of work to be performed by the plane: trying, smoothing, finishing will define the height of the hills and depth of the valleys as well as the number of contact strips.
Now... How to create the pattern?
There are different approaches, depending on your equipment. I'll start with what I think is the most efficient and visual, but I haven't been able to try it since it requires a flat metalic surface, such as a thicknesser top, where graphite could adhear. If you have a surface plate in graphite, this may work as well.
What you do is to rub some graphite on the table, then rub your plane a couple of time on the flat surface. Look at the sole, and you will see that all high spots are darkened by the graphite. Nice, isn't it? You then just need to scrap these high spots until you get one strip at the front of the plane, one just BEFORE the edge, and optionally one at the back of the plane.
The other method is to use a straight edge. Japanese make some in steel dedicated for the purpose, but you can make your own as well. Mr Toshio Odate describe the method in his excellent and well written book. I find this to require some practice, and I used it in conjunction with the following.
This is the third method, which makes use of a straight edge but requires first a preliminary flattening of the sole. For this I am using a flat glass plate, mine being rather long since I have some long dai planes to tune.

Glass plate, sandpaper and double sidedtape
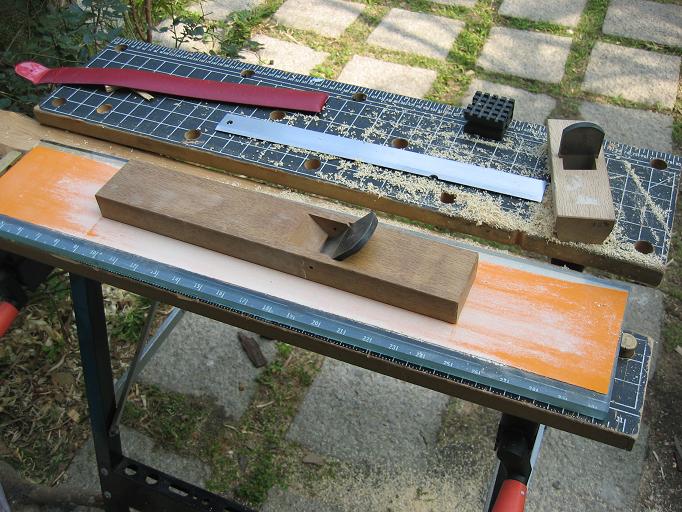
All you need for kanna tuning: your plane, glass plate, straightedge and a scrapper plane (a simple card scrapper would do also).
Note that the glass plate is locked in place.

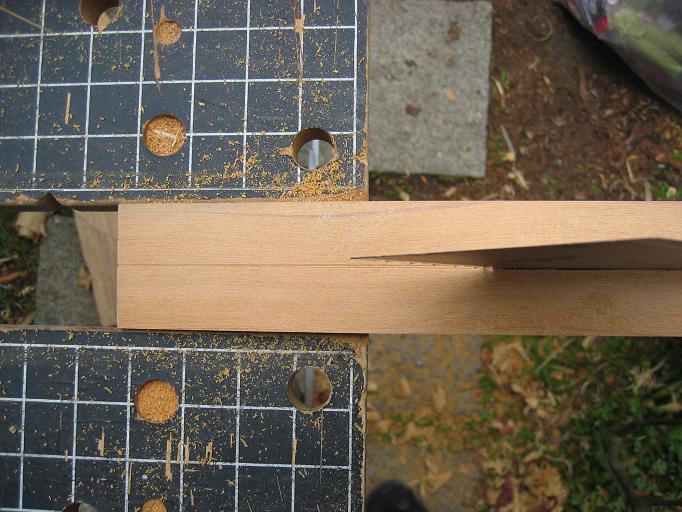
After tuning, and rubbing on the graphite.
Monday, February 06, 2006
Old tools from Taiwan
Chisels
http://www.tyccc.gov.tw/fur/Be5/001.htm
Planes
http://www.tyccc.gov.tw/fur/Be5/002.htm
Saws
http://www.tyccc.gov.tw/fur/Be5/003.htm
Laying out, sharpening, striking...
http://www.tyccc.gov.tw/fur/Be5/004.htm
Sunday, February 05, 2006
A small workbench
The base is in chinese juniper (juniperus chinensis), which was very common in Taiwan during the Japanese occupation (up to until 50 years ago). This material was exported in large quantities to Japan, and is now protected in Taiwan. Old pieces can still be found here and there for an acceptable price. It has a very pleasant smell and planes well... if the grain is working with you. Otherwise you get tear outs, no matter how well your plane is tuned. Even with a scraper I got some tearouts.
The top is laminated pine.
The vise screw is in eucalyptus, found on a sidewalk after a typhoon hit Taiwan last september.
Ripping the juniper (I am here using a ryoba)
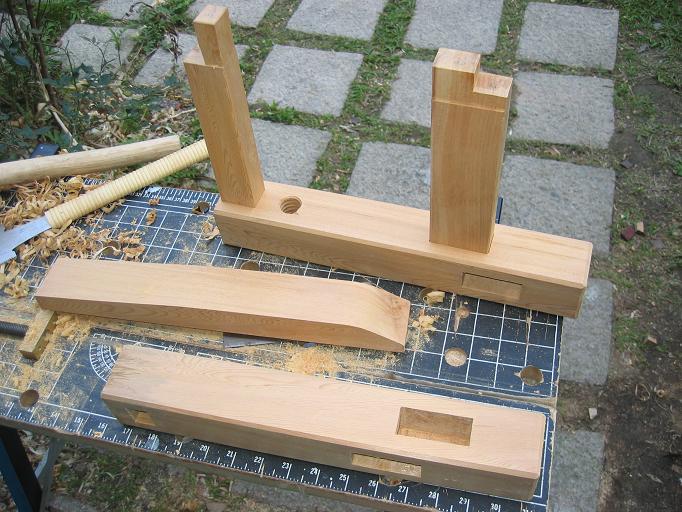
Tenons and mortises

Screw cutting from eucalyptus (diameter of screws 13mm or 1/2")
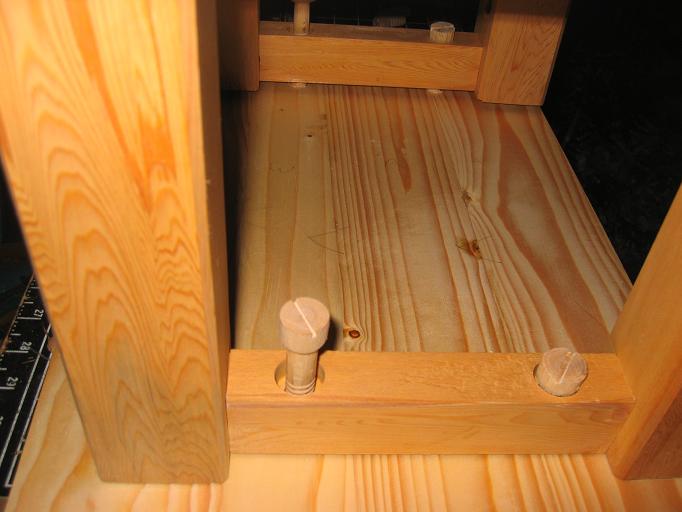
The top is screwed to the base with wooden screws. The screws holes is the only place where I've used an electric tool (drill press), mainly for the flat bottom holes.
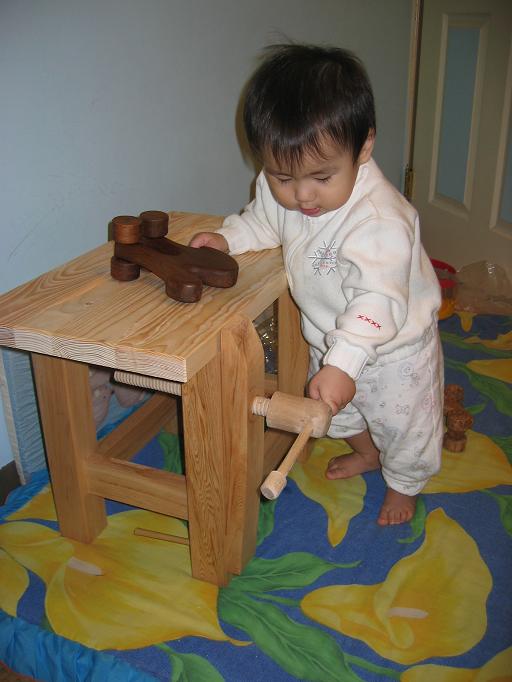
Partial result: I still need to oil the top, and chamfer the clamp leg.
Happy chinese new year (of the dog)
I've done a lot of woordworking and was glad to finish my son's workbench. I will post more details about its construction.
I have spent a lot of time to fine tune some of my planes, and I still need a lot of practice. Also worked on the sharpening of my plane blades.
![]()